Building and Flashing a Firefox OS device
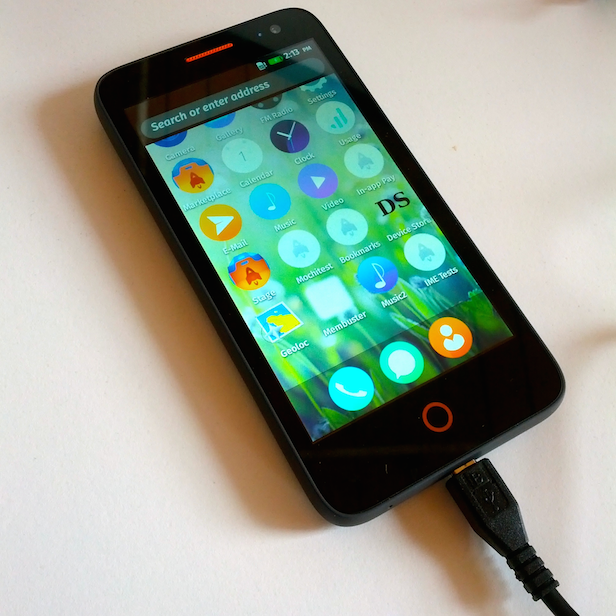
Yesterday I found a mystery box sitting on my table. I was super excited to discover that I finally got the new "Flame" reference Firefox OS device (MDN). So let the testing begin!

First of all, I wanted to comment on the great build and hardware quality that the device has! I was impressed to a point of wanting to dog-food the device as my primary smartphone. Unfortunately, none of the Firefox OS devices released to date work on Wind Mobile network (1700/2100 AWS band).
My second thought was to flash it with the latest Firefox OS build. Since I am using OSX as my primary working environment, I opted for using the current Ubuntu LTS with Virtual Box and Vagrant. I was using that setup for a while now with the Inari device without any issues. The first thing I discovered when building for "Flame" is that my build now explicitly fails because of the non-case sensitive file system (I shared the source for B2G, gecko and Gaia between the host and the guest environments).
Given that other developers that work on OSX and develop for "Flame" might face the same issues, here is a step by step guide to setting up, building and flashing the reference device:
Case sensitive disk image
NOTE: proceed to the next step if you have a case-sensitive file system already
To create mountable case-sensitive disk image run
  hdiutil create -volname 'firefoxos' -type SPARSE -fs \
  'Case-sensitive Journaled HFS+' -size 40g ~/firefoxos.sparseimage
  open ~/firefoxos.sparseimage
The drive will now be located at /Volumes/firefoxos/
Source code
The disk image is the place to keep the B2G source code. In case you have a pre-existing Gaia and gecko repositories you can use symlinks to/for them.
Now is also a good time to set an environment variable that will be used to reference the path to B2G source:
export B2G_PATH="/Volumes/firefoxos/B2G"
Build environment
By now you should have Virtual Box and Vagrant installed. Vagrant makes it really easy to create and configure the build environment with just one command. All of the provisioning stuff is specified in this Vagrantfile that you should save somewhere close to where you keep your other VMs.
Now navigate to the directory you saved the Vagrantfile to. And run the following command:
vagrant up
It will take some time to set everything up but once you are done your VM should be easily accessible via ssh, so type:
vagrant ssh
and you are in.
Configure, build and flash
At this point you are all set up and ready to roll. Here's what you need to do:
Connect your device via USB and verify that it is visible to the VM: adb devices should list it.
  cd B2G // host's B2G_PATH is synced to guest's $HOME/B2G
  ./config.sh flame // Will take some time to fetch everything
  ./build.sh // Will take a very long time to build everything
  ./flash.sh // Will flash the device with your new shiny build
Hopefully everything worked for you and you are ready to hack on B2G or Gaia from OSX. The changes you make will be synced to the VM. When you are ready to build again, just ssh to it and run the necessary commands (more here).
yzen